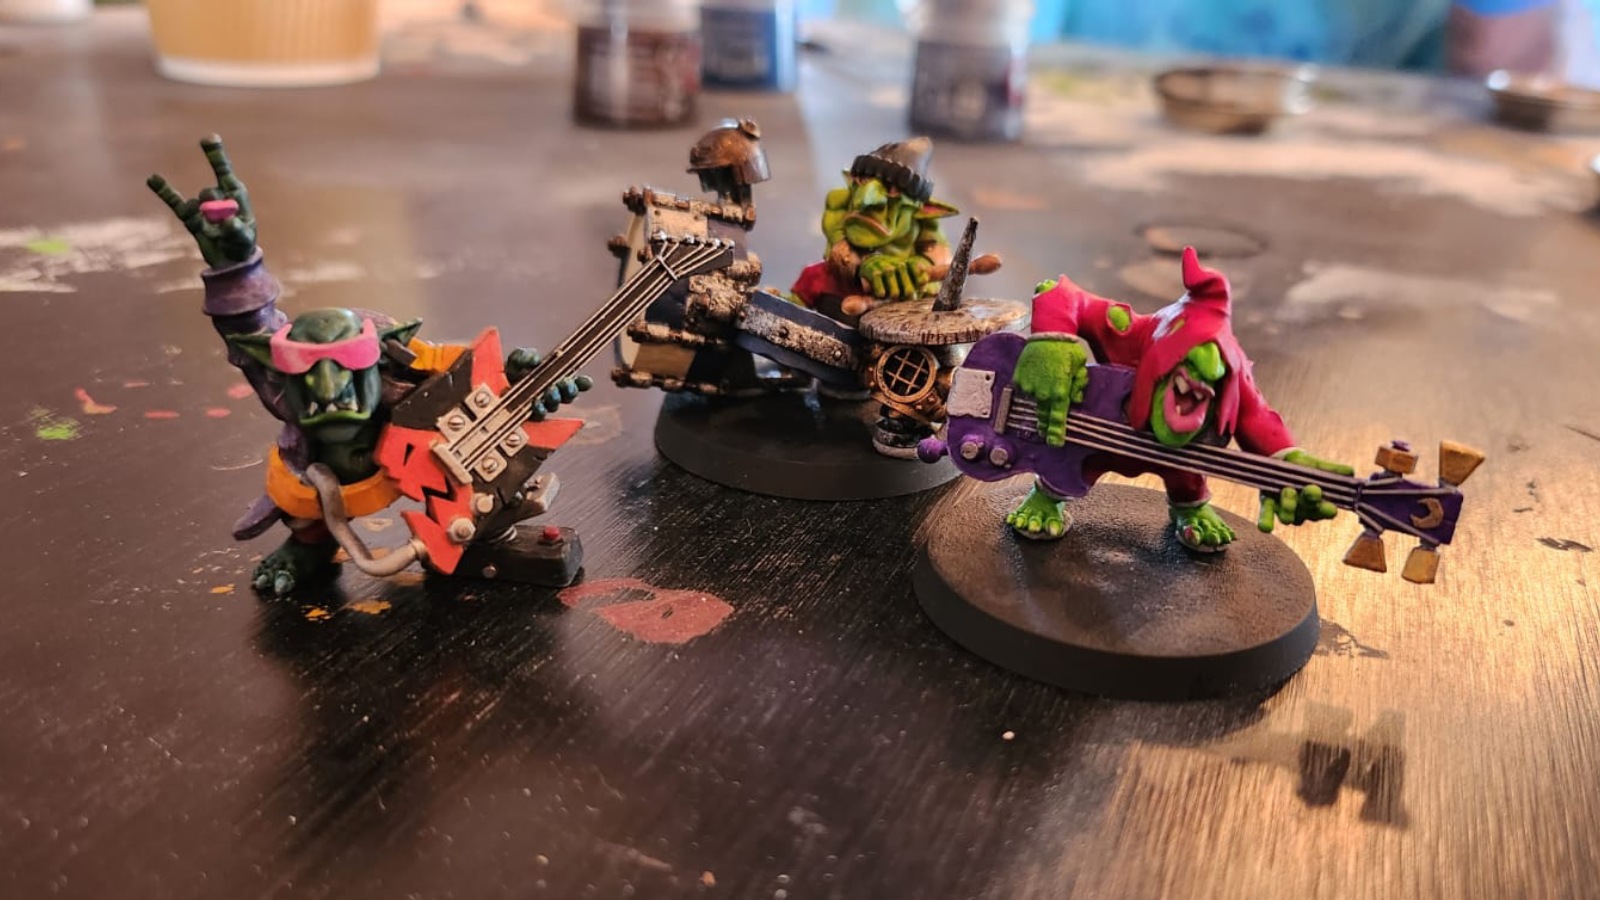
Another month, another progress update on my experience with 3D printing. I know it’s been a while since we last caught up so to jog your memory you can read up on the last article here. If that’s too much effort for you the gist of it was that we were looking at changing up our resin mixture because we felt our tiny, little warriors were crumbling under the pressure, or to be more accurate, crumbling whenever we accidentally bumped them off the table.
To our surprise, 3D printing is not just used to create table-top miniatures for us to enjoy on a Wednesday night, no, no, there are other industries out there that print things for more serious applications, who’d have thought? This also means that you get different types of resins that are used to print things that are more suited to what you need. You get dental-grade resin that is non-toxic and is used for bridges, crowns, plates, and things that go in your mouth. You get heat-resistant resin that can be used to manufacture parts that are required to take on high-heat situations and so on, you get the idea. Up to now, we’ve been using the Standard resin 2.0 from Elegoo, and while it does a decent job with printing, I feel like it’s more for making cool things that will sit on your shelf and not be touched. We needed something with a bit of flex to it, almost like rubber. This resin does exist, but there were two problems. One, it’s expensive as all hell, almost three times the price, and two, when used on its own, your prints are pretty much waving their arms outside your local car dealership.

The trick, as we found out through some internet digging, was to mix this elastic resin with the stiffer, standard resin, and as mentioned in the previous article, the store was out of stock. So we waited.
While we waited, the excitement for our new toy was dwindling. We had created some awesome figures, but we weren’t quite happy with them, and now that the machine was sitting silently for a few weeks, it started to fall to the back of our minds. While this sounds like a bad thing, I think it really wasn’t. What it did was let us really focus on what we wanted to print instead of just printing anything and everything because we had to. It also allowed us to catch up on all the miniatures we already had that needed a fresh coat of paint. Our little wargaming group also grew a little, and I think this got us more excited again for when the “good resin” would finally arrive.
Which it did.
We had ordered the Sirayatech Tenacious Resin, a very flexible and highly praised resin, and then a nice cheap bottle of SunLu Standard Resin. I had read up that the SunLu, while cheaper, offered a more rubbery life feel to the prints over the more expensive Elegoo Standard.

Denzel, my 3D printing partner in crime, went and bought us the top-of-the-range R100 scale from Dischem so we could do a little science in the store room.
We had decided that a 90/10 ratio of the two resins would be the way to go, with the smaller portion being the super-expensive Sirayatech resin. We sacrificed the only metal flask that we could find in our kitchen cupboards and proceeded to mix. We did a nice gentle mix as we didn’t want to have bubbles in the liquid; that just sounds like a structural failure waiting to happen.
To quickly mention, we had black Siraytech and grey SunLu resins; mixing the colours had no effect other than the two actual colours becoming one, darker grey. If you’re painting over it anyway, feel free to throw whatever colours you want together.
We poured our new concoction into the vat of the printer, and we picked out a test print to see how the resin would fair. We decided on the miniature corgi army again, partly because Denzel had drop-kicked all the old prints to smithereens.
Excitement coursing through our veins, we were forced to wait for the print to finish. With a three and a half hour wait ahead of us, we had to do something else to pass the time, so we went out for lunch.
Guys, I don’t mean to brag here, but I had the best sandwich I’ve ever had- just kidding, that’s not what I’m bragging about. The prints were absolutely perfect. They still had the same amount of detail we were looking for for our tabletop gaming, and when we threw them in the air and the meteored face first into the ground, they didn’t smash into a million pieces! Rejoice!

The new prints had a smoother, more rubbery feel to them, which meant they felt better in your hand as well as were more flexible to survive the brutal battles on the board. The mixture did mean we had to change our painting techniques a bit.
The painting wasn’t a big deal; we just had to dust our prints with a more gentle touch of primer than the aggressive method we had been using previously.
At the end of it all, including the stock delay, the hours of print time and the adjustments to our old painting tricks, 3D printing has taught me that patience is the key. If you tackle it like the prop would on a rugby team, you will get results, but they may not be pretty. Instead, you should elegantly ankle tap it, a beautiful little technique perfectly timed for the referee not to see.
I’ve found my happy place in the world of 3D printing now. I’m super impressed with every print we produce, and we’re only printing things when we need to, mostly. I’m proud to show the models off to the rest of the community and even offer our services to the guys in the wargaming group just because I think we’ve hit it on the head. We’ve even entered into a little painting competition, and we’re using our printer to print the models for us. In total, it’s taken us about half a year to get here, but it’s been an exciting journey figuring it all out.
