I can clearly remember scoffing at the thought of spending ridiculous money on a “mechanical keyboard” when they first became popular around the mid-2000s. At the time, I couldn’t see why my Microsoft Keyboard with wavy palm rest and multimedia keys could be topped, but over the years, I’ve had the privilege of having a good few mechanical keyboards sit in front of me, and now there’s no way I could ever go back. (Watch this bite me in the butt in a year or two.)
The thing with mechanical keyboards is that they differ vastly from model to model. No longer are you just looking at what features come with the keyboard, like media keys or a palm rest. No, you actually need to think about the keys themselves.
A quick Google search for mechanical keyboards will overwhelm you if you have no idea what you’re looking at, so we decided to put together a short user-friendly guide to get you started on yet another gaming addiction – keyboard hardware.
Let’s start with what really separates mechanical keyboards from their membrane friends: the key switches. These things sit underneath the keycaps or keys if you’d prefer.
A membrane keyboard has a singular membrane beneath the keycaps that registers a keypress when the top half of the membrane meets the bottom half. This usually provides a cushioned typing experience but lacks tactile feedback and has other issues, like limited keypress and ghosting.
On the other hand, a mechanical keyboard features individual switches for each key. This allows for a highly customisable experience as you now have the opportunity to change things like key length, tactile feedback, spring strength and even the activation point of the switch.
It’s fairly obvious that a mechanical keyboard packs a lot more punch than a membrane keyboard, the confusion comes in when you start to look at each switch type and their three hundred and fifty million different colour options.
Key types
Breaking it down, there are essentially three different types of key switches that are generally assigned a role:
Clicky switches:
When pressed, these offer an audible click, adding to the tactile experience by including audible feedback. You also feel this click on your finger when you press the key. Generally, these are aimed towards those who spend much more time touch-typing, i.e. those who don’t look at their keyboards. These key switches are usually in the blue colour spectrum.
Tactile Switches:
These offer a tactile bump to the key press. While not audible like the Clicky switches, somewhere around the middle of the keypress, you will need to apply a tiny bit of extra force (seriously negligible) to press the key down. This activates a bump in the switch that you feel on your fingers. These key switches are generally aimed towards those who want a hybrid office/gaming keyboard, as it’s a kind of mixture between Clicky and Linear key switches. Usually, these switches are of the brown colour spectrum.
Linear Switches:
Last but not least, these key switches have no tactile feedback built into them. They are called linear because, on the force graph, the line is straight or linear. Linear switches tend to offer smooth and silent key presses. The key switch is aimed towards gamers because the lack of tactile feedback allows for longer usage without tiring out your fingers, and the smooth gliding press allows you to activate the key quicker than the other two switch types. Generally, these key switches will be of the red colour spectrum.

Before we step further into this dark, alluring hall, just remember that a keyboard and how it feels is very personal. For years, I’ve been gaming on a low-profile blue switch, more than likely causing my dogs to start hating me as I click away loudly. I tend to enjoy both the audible and tactile feedback I’ve been getting from my keyboard, and at the end of it all, you should enjoy your keyboard experience, too. This isn’t an article telling you which key switch to use, but more of a guide to helping you pick one that you think would best suit you.
Anyway, back to the good stuff.
I got my hands on five different switches, including my daily low-profile blues, to help give you all an idea of how each key switch acts.
- Keychron K Pro Red Switches – Linear
- Gateron Phantom Yellow – Linear
- Gateron Phantom Brown – Tactile
- Gateron G Pro 3.0 Silver Two Stage Spring – Linear
- Gateron Low Profile 2.0 Brown – Tactile
- Logitech GL Clicky – Clicky
Specifications
Most key switch spec sheets will offer some information to help you decide which switch is best for you. No matter if the switch is red, brown, blue, pink-lemonade, cerulean snowstorm or freshly picked mint in colour. This is what those specs mean:
Operating/Actuating Force
This is basically how hard you’ll need to push the key down to actuate the key. A higher number indicates that you will need to push harder. A lower number indicates the opposite, obviously. Most Linear switches will have a lower force needed than both Clicky and Tactile switches, as there is no extra “push” to get the key to actuate. However, with the wide variety of switches available these days, all switch types come in all different amounts of force.
Tactile Force
This applies to tactile and clicky switches only. Although the key switch might actuate at a low force, you must press slightly harder to activate the tactile portion of the switch just before the key switch actually actuates.
Pre-Travel
Pre-travel is the number of millimetres needed to press down before a key acutates. A higher number here indicates that you need to press the key further down or deeper into the keyboard if you will. A lower number means the key will actuate a bit sooner. This is usually quite similar across most switch types. Some gamers hunting for faster reaction times will specifically look for key switches that actuate sooner. A quicker actuation in-game could mean the difference between dodging that bullet like Neo or being called a noob by the rest of the team as you throw the round.
Travel Distance
This is how far the key switch can be pressed before it bottoms out or can be pressed no deeper. A higher number here means the key switch can travel further down before it reaches its end. Similar to a lower pre-travel distance, gamers looking for quick and reactive switches will opt for a lower travel distance. This means it takes less time before the key can be pressed again. As you’ll find out later, bottoming out offers its own kind of tactile feedback. Some people don’t enjoy it, some people do.
Combining these three things will determine what kind of key switch you want to get. That, and of course, their tactile feedback and how much of it you want.
Hands 0n with key switches
Throughout my testing of these different switches, I noticed that my keyboard experience, and as such, my keyboard enjoyment, was not only limited to the key switch itself but to the keycaps as well. I will get into more detail on this later in the article, but what it did mean was that I got to test all the switches, barring the two low-profile options, in my favourite keyboard setup right now: The Keychron Q2 with Double-shot OSA PBT keycaps. This has been my daily clicker for a while now and I can highly recommend it.
After spending hours upon hours, typing, setting keys, and typing some more, here are the results of my one hundred per cent scientifically tested – I use ‘scientifically’ loosely – results:
Logitech GL Clicky – The Daily Driver
Operating/Actuation Force: 50gf
Tactile Force: 60gf
Pre-travel: 1.5mm
Travel Distance: 2.7mm
Sound Level: Loud
Type: Clicky
Logitech GL Clicky Sound
I thought I’d start with the key switches I’ve used for a few years. For some reason, I have always been drawn towards the Clicky switches. Perhaps it is the touch-typist in me, yearning for… something.
 These switches offer quite a loud, tinny typing and gaming experience. Some may find the noise unbearable, and some may find it soothing. We don’t kink shame here. What makes these key switches great for gaming, though, is their low profile. As you’ll see with the rest of the switches, these GL Clicky’s have almost half the pre-travel and travel distance. This means my key presses actuate slightly quicker than they would on a traditional key. It also means I lose out on the tactile feedback other profile keycaps offer. Low-profile keycaps tend to feel very much like laptop keys as they are quite flat and straight.
I’ve been a fan of these switches for years. The audible and tactile feedback they offer, combined with the actuation speeds, have been perfect for gaming and working on the same keyboard. However, after going through everything on the list, I found something more enjoyable for my fingers.
Gateron Low Profile 2.0 Brown – A Low Profile Alternative
Operating/Actuation Force: 50gf
Tactile Force: 55gf
Pre-travel: 1.7mm
Travel Distance: 3.0mm
Sound Level: Medium
Type: Tactile
Gateron Low Profile 2.0 Brown Sound
I’ve been on low-profile key switches for a while, so I thought I’d try the Gateron Low Profile 2.0 Browns first. At first, the lack of audible clicks felt a little weird, but it didn’t bother me as much as I thought.
These switches offer a very similar experience to that of a laptop. The low profile setup again means flat, straight keycaps, all tightly knit together, allowing your fingers to glide across the keyboard. The tactile bump these keys offer is noticeable but lacks an overall, well-rounded tactile experience.
I found these key switches much more enjoyable to type on than to game on. If you’re looking for something to use in an office space where your colleagues might shoot you for having a loud keyboard, this could be right up your alley.

Gateron Phantom Brown – Too Tactile
Operating/Actuation Force: 50gf
Tactile Force: 55gf
Pre-travel: 2.0mm
Travel Distance: 4.0mm
Sound Level: Medium
Type: Tactile
I didn’t enjoy that the keys had their gloves on and were throwing punches back at my fingers.
Gateron Phantom Brown Sound
Next up are the regular profile brown switches. Weirdly enough, the extra 0.3mm in the pre-travel and 1.0mm in the travel distance made a considerable difference compared to their low-profile counterparts.
The tactile bump is much more prevalent than in the Gateron Low Profile 2.0 Brown. You can definitely feel the pushback as you press each of the switches down, almost as if the keys are fighting you. As a whole, the feedback experience is very much in your face. Not as much as the Clicky switches might be, but certainly enough to envoke something inside of you.
I found the tactile feedback on these specific switches a little too sticky. I didn’t enjoy that the keys had their gloves on and were throwing punches back at my fingers. Hard pass on my end, but if you’re looking for something that provides a good amount of feedback without the loud ticks of the Clicky switches, this could be the switch for you.

Keychron K Pro Red Switches – The Gamers’ Standard
Operating/Actuation Force: 45gf
Tactile Force: N/A
Pre-travel: 2.0mm
Travel Distance: 4.0mm
Sound Level: Quiet
Type: Linear
Keychron K Pro Red Sound
The red switch has been the gamers’ standard since mechanical keyboards have been a thing. As a young gamer, I was nervous about trying these switches out. If I did not enjoy them, would that mean I wasn’t a gamer at all?
The experience is, undoubtedly, great. Red switches offer a smooth and enjoyable experience on the way down and back up again. Every press gives your fingers the feeling of skating on freshly lubricated blades. In using the red switches I noticed tactile feedback from somewhere other than the switch. When you bottom out the key cap, there’s a bump generated in itself that you feel in your fingers. While most of the experience is the smooth glide you get while pressing the keys, this extra feedback rounded off the whole thing quite nicely. When gaming, the speed at which the keys bounce up and down made it feel like I was most certainly a pro-level player, and when typing, the combination of the speed of the keys and bottoming out made for a great overall experience.
As a gamer, you can’t go wrong with a red switch. I didn’t think I would enjoy these switches as much as I did, but I strongly feel that the keycaps played an important role in the enjoyment here.

Gateron G Pro 3.0 Silver Two Stage Spring – Gaming, but Faster
Operating/Actuation Force: 45gf
Tactile Force: N/A
Pre-travel: 1.2mm
Travel Distance: 3.4mm
Sound Level: Quiet
Type: Linear
Gateron G Pro 3.0 Silver Two Stage Spring Sound
Silver switches are usually red switches with shorter travel distances. As explained above, a shorter pre-travel and travel distance means that key presses activate faster in theory.
I couldn’t notice a difference in terms of my gaming experience in comparison to the red switches used above. Because of the shorter travel distance, I did notice that it didn’t feel like the keycaps bottomed out as much as they did with the red switches while still remaining quick and smooth. You can hear it slightly in the audio, specifically on the space bar.
I preferred the bottoming out from the red switches. However, these were still good to use and were specifically designed for gaming. Whether the slightly extra cost is worth it over the red switches, though, I don’t think so.

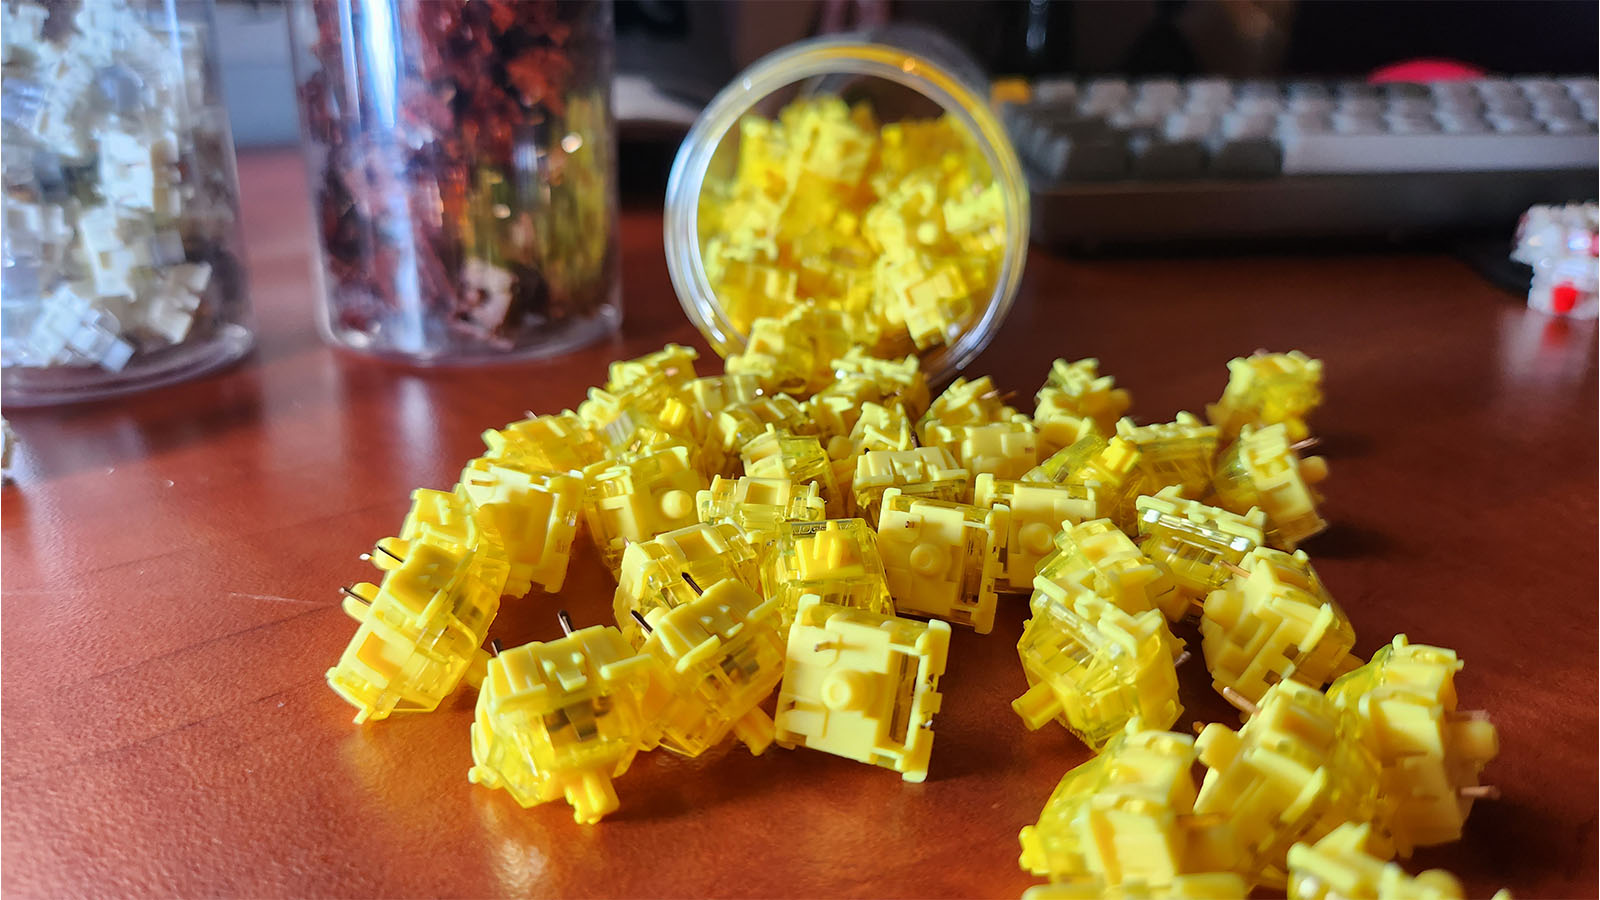
Gateron Phantom Yellow – An Unexpected Favourite
Operating/Actuation Force: 50gf
Tactile Force: N/A
Pre-travel: 2.0mm
Travel Distance: 4.0mm
Sound Level: Quiet
Type: Linear
Gateron Phantom Yellow Sound
After going through all the switches, I honestly wasn’t expecting much from the yellows. They’ve never been on my radar, as I didn’t expect something as minuscule as 5gf on the operating force would make any difference at all. To my surprise, I was wrong.
These switches are almost identical to the red switches, and if you had to listen to the audio between these and the red switches side by side, you almost wouldn’t be able to tell the difference. However, the extra force needed to activate these yellow switches is just enough to offer a very different experience to the red switches. Yes, they are still just as smooth as the red switches and provide that same freshly lubed glide, but the strength of the spring provided an almost cloud-like addition to the overall experience. The keycaps felt like they floated just a bit, almost like when you try to press two magnets of the same polarity together. The key caps still bottomed out, but the switch felt like it popped the key cap up faster than it did with the red switch.
Unexpectedly, these yellow switches, partnered with the keycaps I had on the Keychron Q2, have become my new favourite typing experience, so much so that I’m actually on the hunt for a new Keychron keyboard with this specific loadout. Don’t let my Clicky Blue hear me say that out loud.
Keycaps
You might have noticed that I mentioned the keycaps in two switches I enjoyed most; there was a reason behind that. During this experiment, I also had the opportunity to try out a few keycaps. If you didn’t know, there is even a variety of those. Keycaps differ, not just in the material they are made of but also in their shape. These different shapes are called keycap profiles.

OEM is the standard profile that most of us use, featuring a slightly sculpted keycap with a slightly upward-facing angle. Other profiles include the Cherry profile, which still features the same slightly sculpted keys but a different angle, offering a more ergonomic feel. The SA profile offers what they call a spherical keycap; this means that the keycap is sculpted on all sides, not just the top. The angle of the keys looks more like a valley and offers a different kind of ergonomic experience, with much taller keycaps than we’re used to. DSA also offers these spherical keycaps without the valley-like angle and keycap height that SA offers. XDA features a flat, smooth keycap without any angling. These keycaps are quite similar to something you might find on a chiclet keyboard.
The keycaps I most enjoyed were the OSA profile. These offer the same valley-like angling and spherical shape that we get from SA but without the extra height.
While using this keycap profile, my hands felt most comfortable, and I think this is how I could give up the low-profile keycaps I’d come to love. Low-profile keycaps allowed me to move my hands across the keyboard quickly, but with the OSA keycaps beneath my fingertips, it was as if my hands didn’t want to leave them at all, gliding or otherwise.

With all that information overload, here are just a few extra tips that I can offer to finish off this guide:
- If you can, always get pre-lubed key switches. Lubed switches offer a smoother, less sticky experience, and while you can lube them up yourself, sometimes it’s just easier to go the convenient route.
- Go out and try some switches, try some keycaps, try everything. The more you play around the better idea you’ll have of what you want in a keyboard.
- Supplement this guide with some of your own research. Mechanical keyboards can get pricey, and you don’t want to end up wasting money if you don’t have to.
At the end of this guide, I hope you feel more informed about taking the plunge and finally getting that keyboard of your dreams. If you feel like you need more information or have your own experience to share, feel free to drop a comment below with whatever questions you might have.