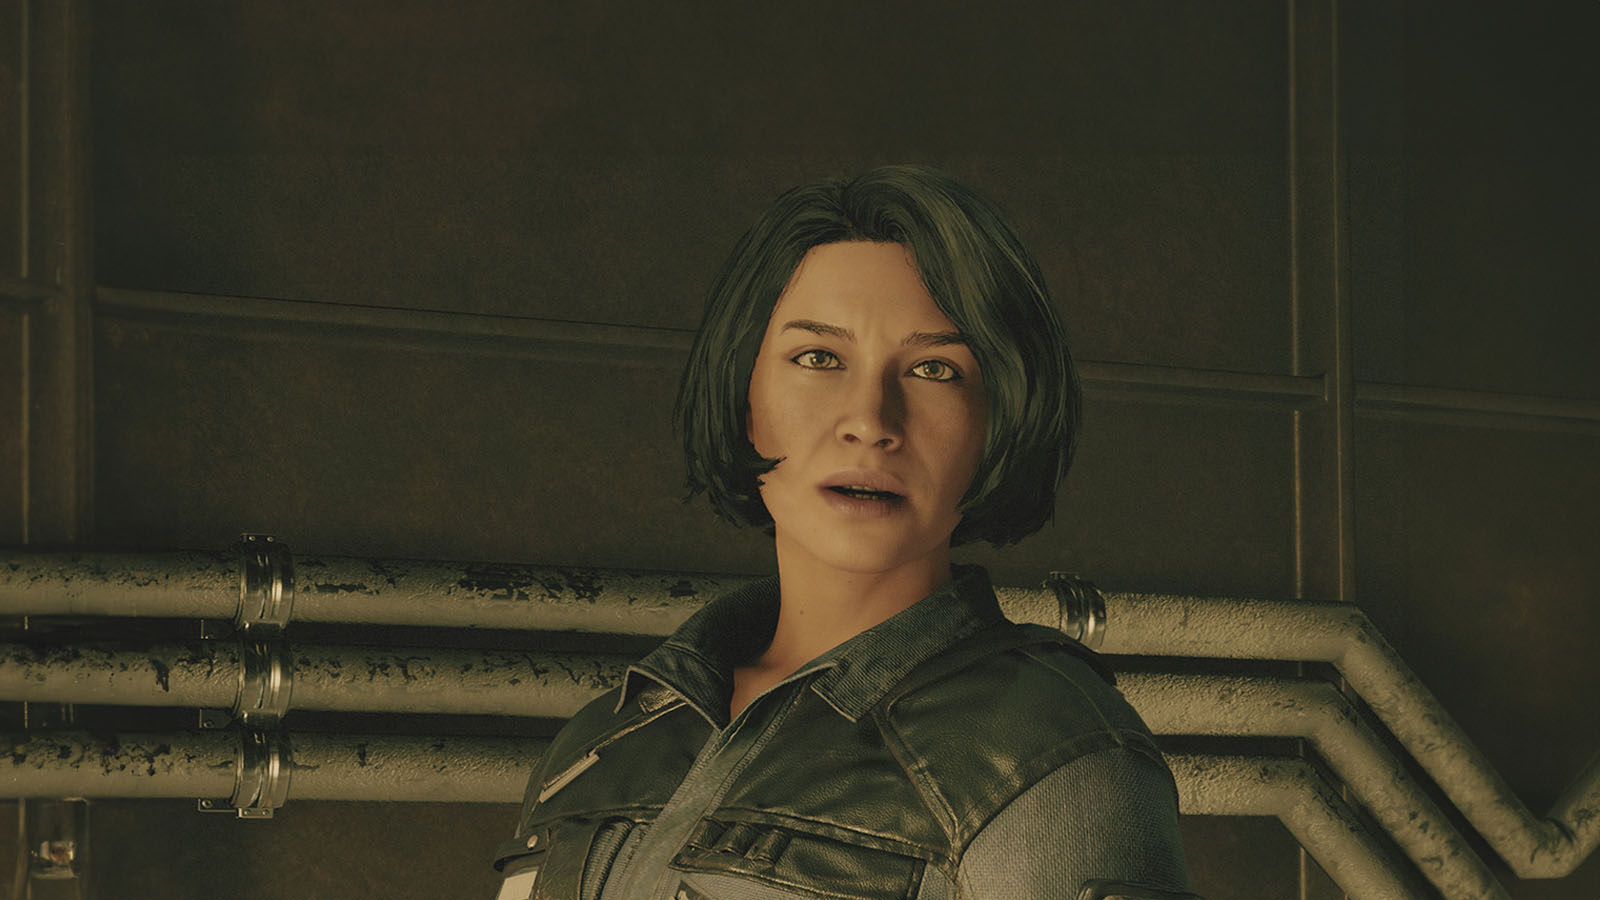
As you play through the first few hours of Starfield, you’ll soon find yourself upon a planet known as Jemison, where you’ll meet many characters who also belong to the Constellation for the first time.
It’s also on Jemison that you’ll meet Louisa Reyez. Upon meeting you, Louisa will ask for help locating a power drainage source in the area that threatens to bring load-shedding to Jemison. When you agree to help her, you’ll be led into the Trade Authority headquarters in the Alternating Currents quest.
And then, at the very end of this quest – players will be faced with the first of many defining questions. Do you side with Zoe or Louisa?
When you activate the first switch in this quest line, Louisa and Zoe will ask you to activate different boxes. Zoe’s box is much closer, and because the quest’s outcome doesn’t change depending on your choice here, you’re free to pick whichever box is most accessible for you.

After following this questline to the end, you’ll head into a building and be asked to investigate a specific apartment – marked with Starfield’s signature blue quest icons.
Now, if you want to get the evidence to solve the question of who is responsible for the power drain, you’ll need to use a Digipick to unlock the apartment door. Once inside, you’ll find a computer with many files on it. After downloading the files, you can progress the quest.
But now comes the ultimate question: while collecting the evidence, players will receive a call from Zoe asking you to hand over the evidence to her instead of Louisa. This is the crux of the mission – who will you give the evidence to?
So, no matter who you choose – your reward will be the same. However, it’s worth remembering that Louisa has been on this case from the start, while Zoe is a corporate employee willing to use any methods to get her way.
It’s also worth noting that even if you give the evidence to Louisa, you can still access and use the Trade Authority vendors – one of the only ways to sell Stolen Items or Contraband in the game.